
Guest after-action report by u/nzmx121.
Hi all, this is just the second part of my Mius Front AAR.
December 16, 1942.
North Caucasus, vicinity of village Shefatov.
0600hrs
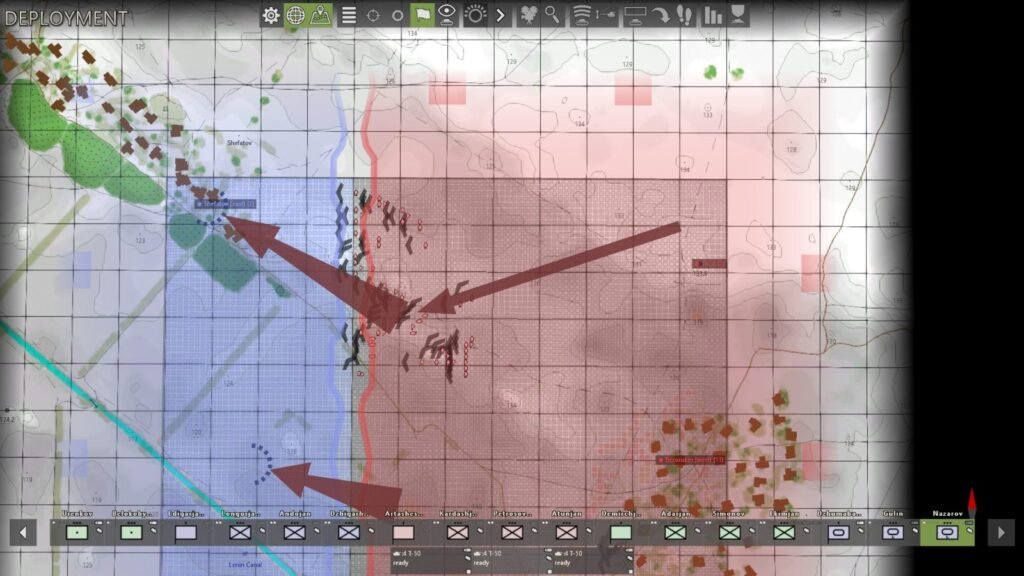
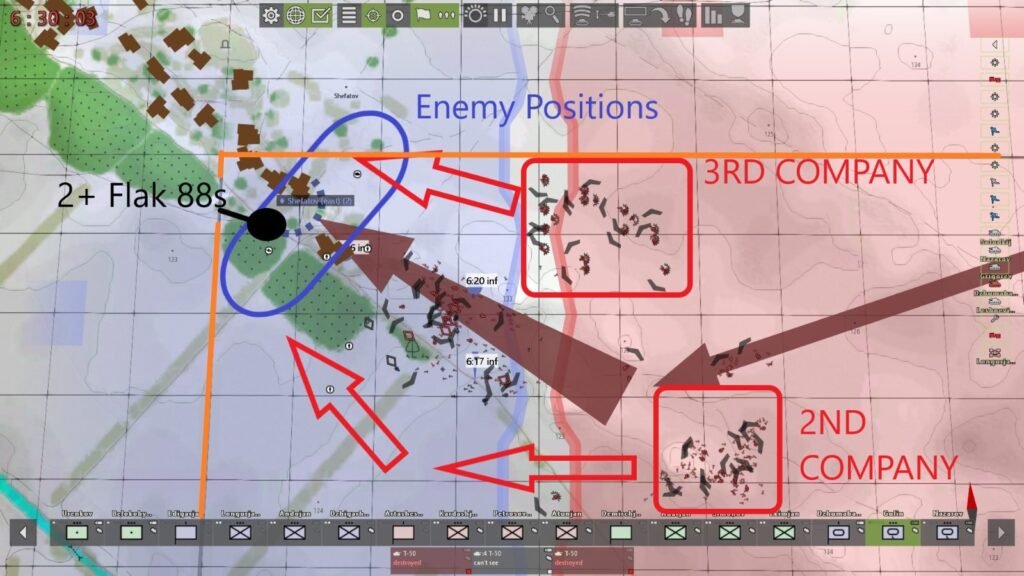
The above image displays the map for the first tactical battle of this campaign, oriented north up. Partially visible on this map is a series of mounds in between Bezoruskin in the southeast and Shefatov East in the…west. My goal here is to use the mounds, visible on the map as dark patches, as defilade to cover my infantry during deployment. I will then take advantage of the early dawn dark and thick fog to assault across the open ground between where my troops are and Shefatov. The fog and dark unfortunately aren’t great for screenshots however, but I tried my best. Priority will be getting into the orchard, visible on the map in green.
My rightmost infantry company has i’s flanks in the air, but they have managed to entrench themselves before the battle. I am hoping the trenches will enable them to serve as a form of anchor for rest of my forces should I be forced to retreat. My infantry companies must have been freshly reinforced, as they each have around 150 men. This early in the campaign I am not averse to a bit of a brazen charge. I hope I don’t have to eat my words.
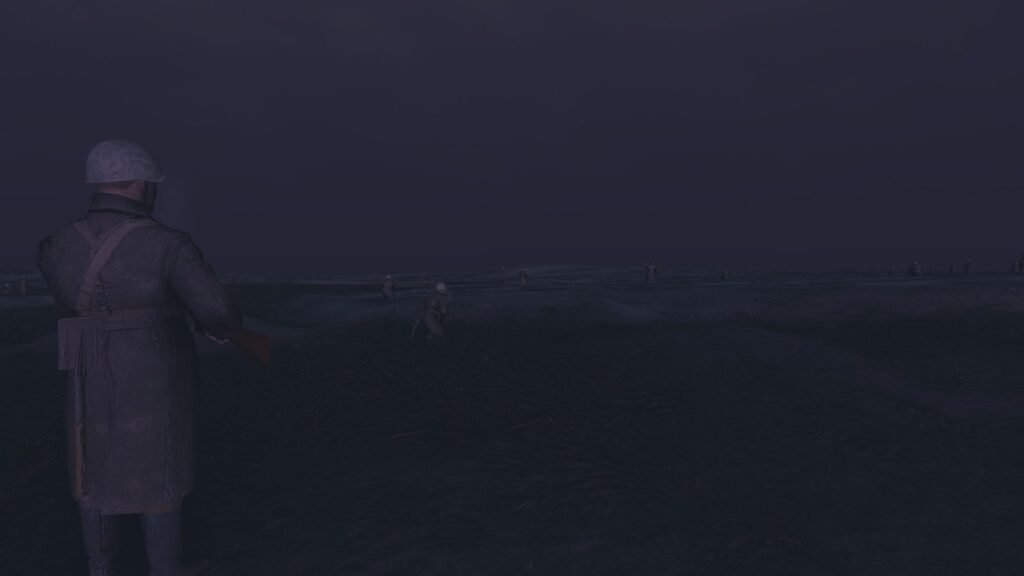
I deploy my men. For a while, nothing much happens. Promptly however, gunshots ring out. My troops have identified a pair of enemy trenches, occupied by German scouts. After a fusillade of automatic fire, the tenants of the northern enemy trench are dispatched in short order.
The southern trench found itself misfortunate enough to be near where I had deployed a platoon of tanks and a platoon of infantry.
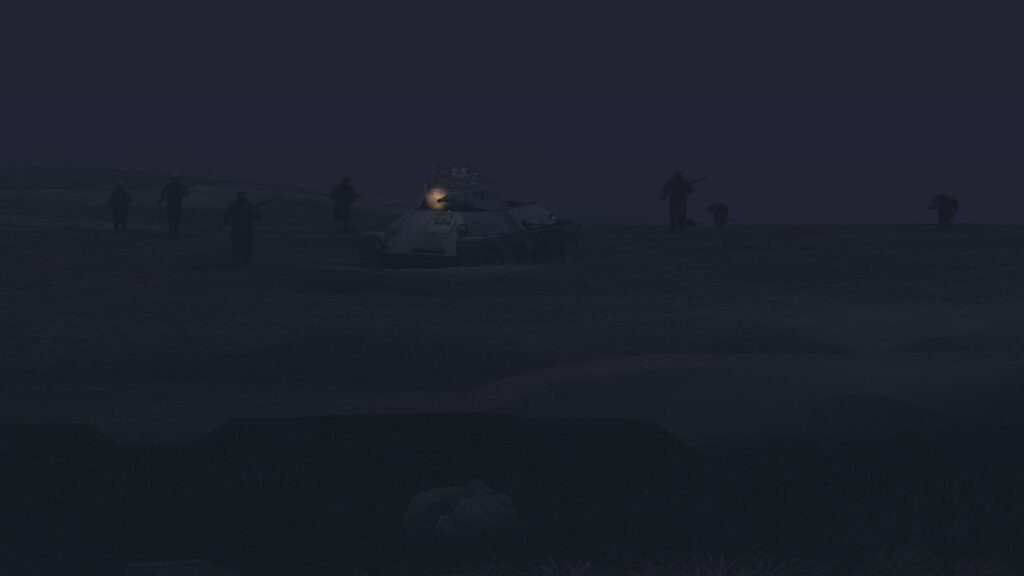
I order the men forward and after a brief firefight that trench is occupied by the Red Army.
After not taking any contact for some time, I order the assault. The first wave will consist of the 684th’s 1st Rifle Company and all six of my tanks. They set out across the snow. It is still foggy and quite dark. I am hoping the sun doesn’t burn the fog away until my men are closer to the orchard.
1st company makes it about 20 metres before taking contact.
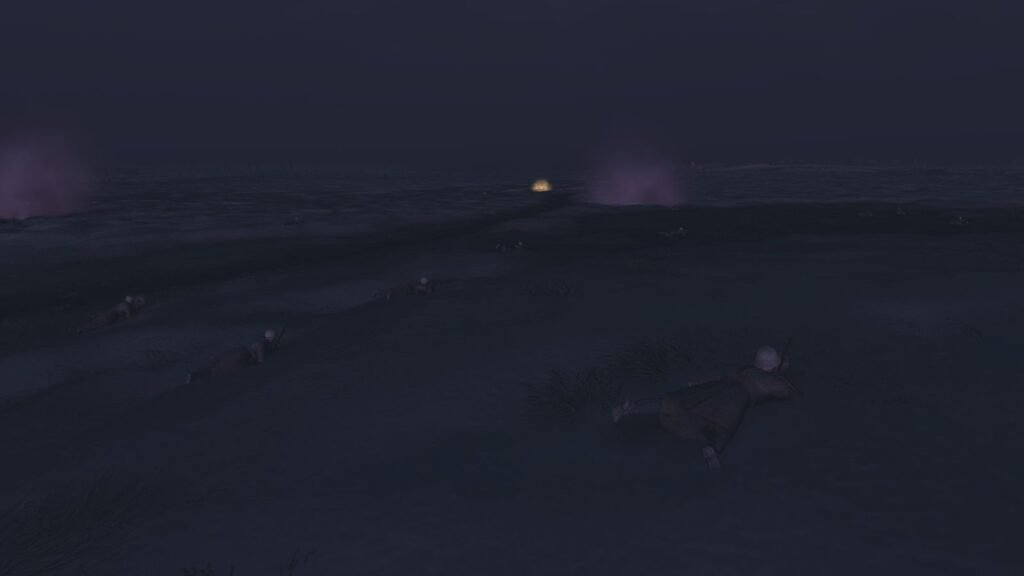
Within seconds, they identify several enemy firing locations – MG-34s and a couple of anti tank rifles. They go to ground and try to establish fire superiority before advancing. This proves to be relatively straightforward – six tanks and a whole lot of angry Russians with PPSh submachine guns are quite effective in Mius, as it was in real life.
My men are steadily gaining ground, with my T-50’s right with them providing covering fire, when there is a resonating boom and one of my tanks’ icons shows an alert. They’ve been hit by something. Two out of the three crew are dead and the final crewman, in an act surely worthy of a Hero of the Soviet Union medal, has appropriated a DP-28 light machine gun and is laying down suppressing fire as his comrades advance.
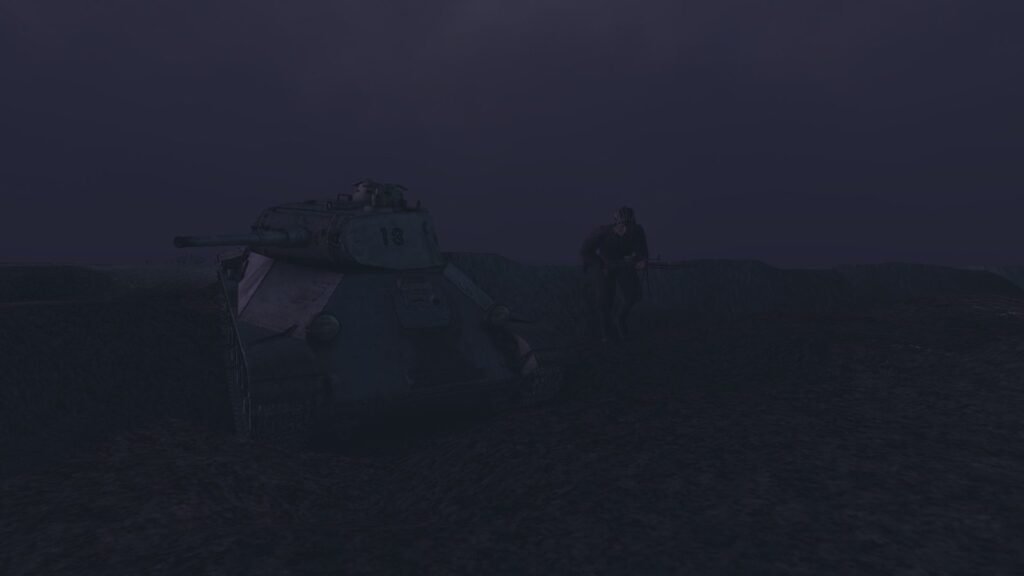
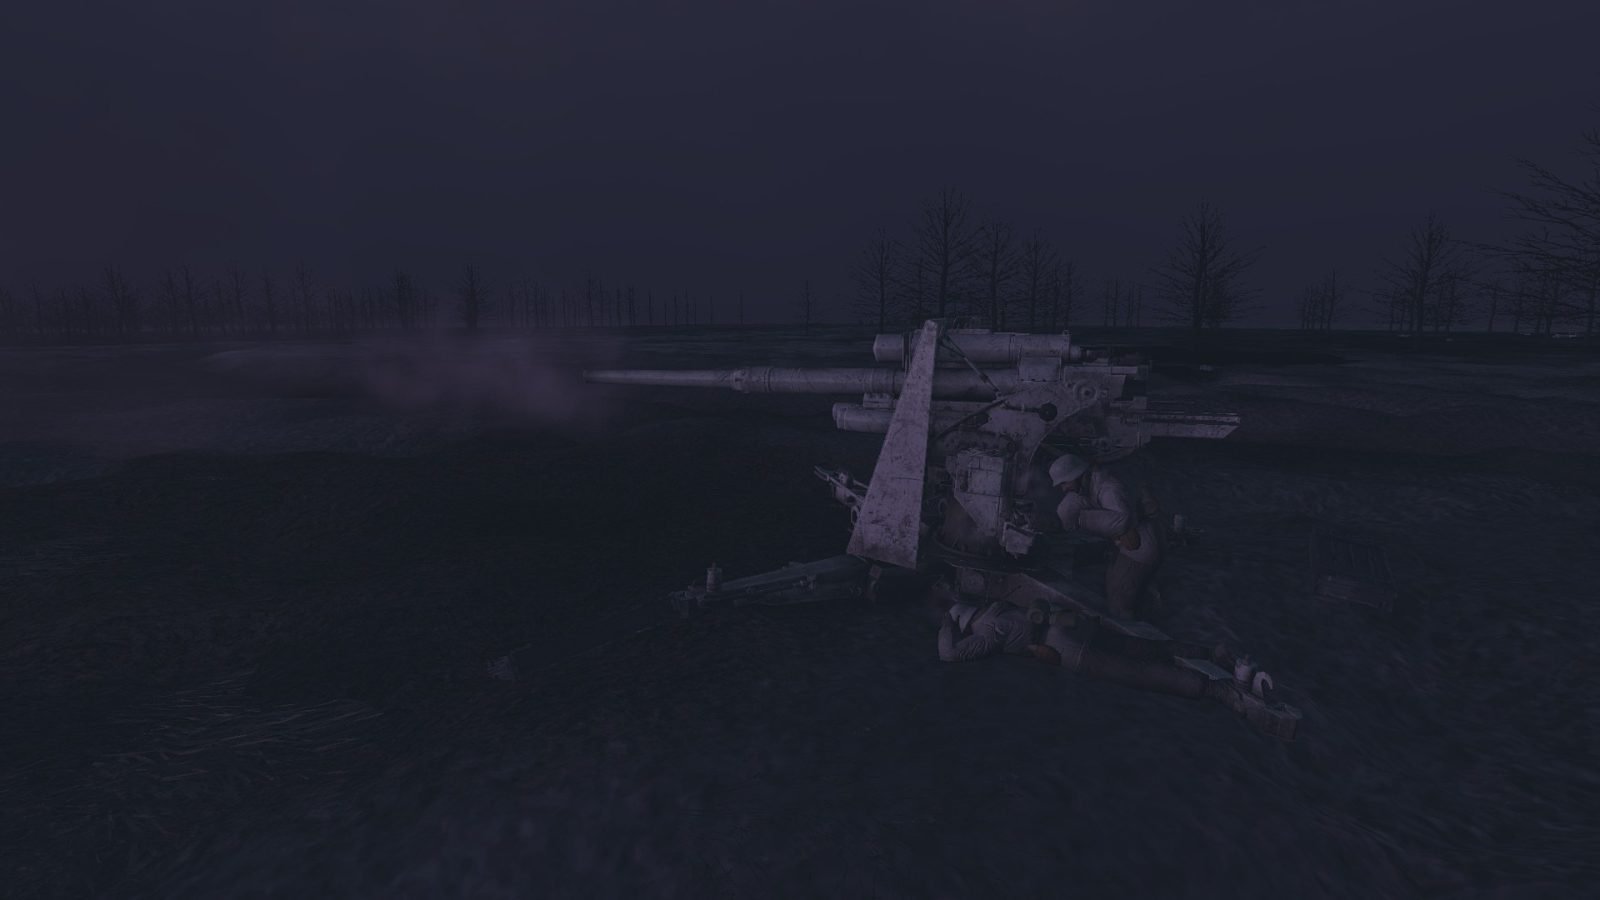
As heroic as this is, the demise of his tank is certainly worrying. I pull back the platoon’s other two tanks, I am still not certain where the killing shot originated. I have a sneaking suspicion I may have just run into a battery of 88’s, based on the sound of the shot, but time will tell if I am correct.
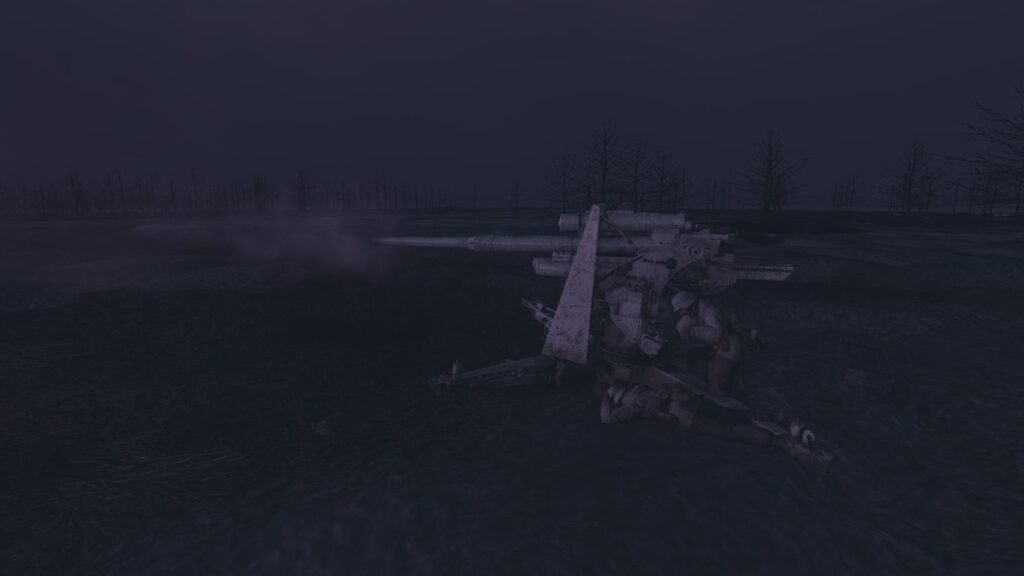
I frantically give the two exposed T-50’s a move fast order so that they are behind my advancing infantry, in a bid to break line of sight with the 88. Said infantry have also noticed the imposing cannon on the foggy horizon, and about a dozen have started to retreat.
A second T-50 is impaled by a couple of 88 shells, killing all three crew members.
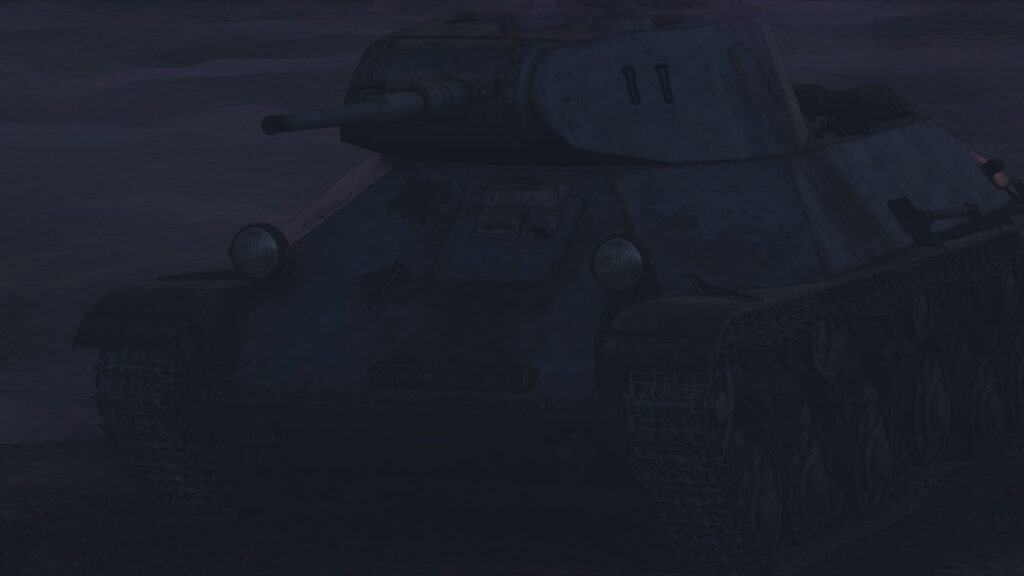
The fire intensity from the village is increasing and I think I have started to lose control of this assault. The loss of the two tanks in quick succession has worried my men and more of them begin to falter.
I briefly consider continuing the assault with 1st company, but as another T-50 sheds it’s tracks and grinds to a halt I realise the line of fire these 88s have is far wider than I had suspected. I really need to get my tanks out of there.
I had thought I could get away with a quick rush, but Mius’s AI often places it’s defences in devilishly realistic locations. Those 88’s, cunningly nestled against the foliage of the orchard and in a slight reverse slope position, have derailed this assault in a matter of minutes.
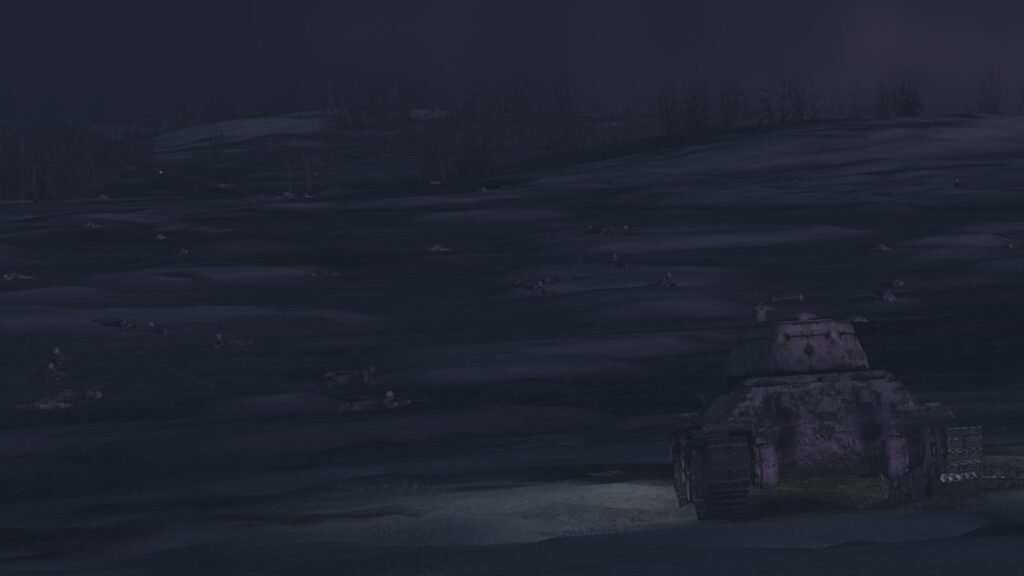
Back to the drawing board. One good thing about Graviteam is that the tactical battles can last up to three hours, so a setback like this isn’t the end of the world. With that being said, I have lost about 25 infantry and three tanks. Not a particularly auspicious start.
I estimate from the contacts my men have already distinguished that I am facing about a company of enemy infantry and a platoon of up to four 88mm guns. Now that the sun is peeking above the horizon and the fog is starting to dissipate, I need to regroup my men, order suppression fire from my remaining tanks on identified enemy positions (with the tanks far from the line of sight of the 88s), and coordinate an artillery and then smoke barrage from my 75mm guns, preceding an assault by my two unblocked infantry companies, with my slightly bruised one in reserve and providing covering fire.
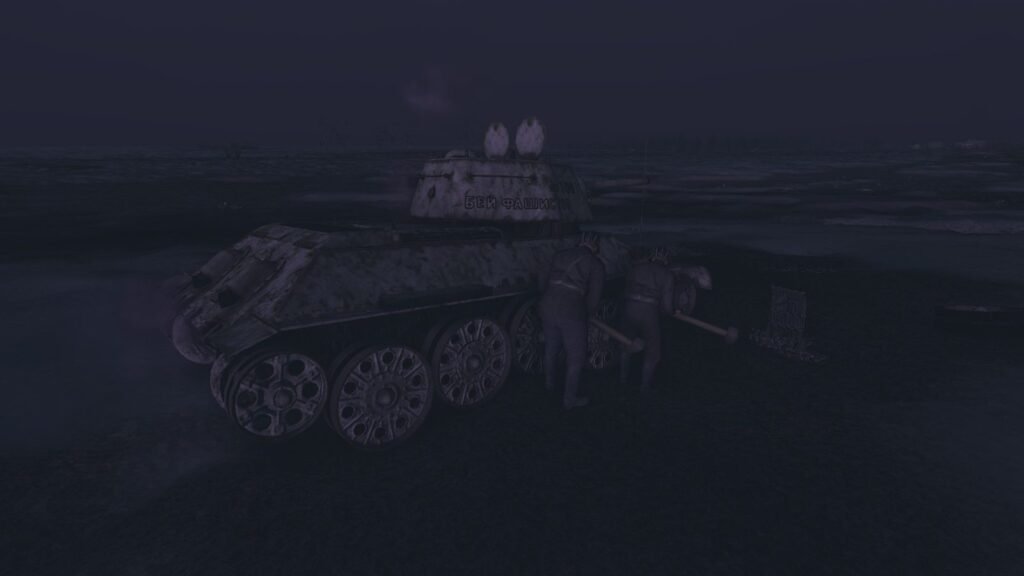
This plan is of course all very well and good in theory. Something about no plan survives contact with the enemy? 1st Company’s retreat is brutal. My gung-ho attitude of the start of the battle is completely gone. My men are dropping as they struggle back across the snow. I am facing a dug in, well equipped enemy. I have lost three T-50 tanks and my lone T-34 is completely static, it’s crew furiously making repairs as bullets whip over their heads.
As the darkness very slowly fades away, I begin to make out the position that I had been trying to throw my men at. As it turns out, both the houses and orchard I am assaulting are necklaced with interlinked trench systems. There are a slew of ‘unknown contact’ icons all over these trenches, suggesting my troops have identified that they are indeed occupied.
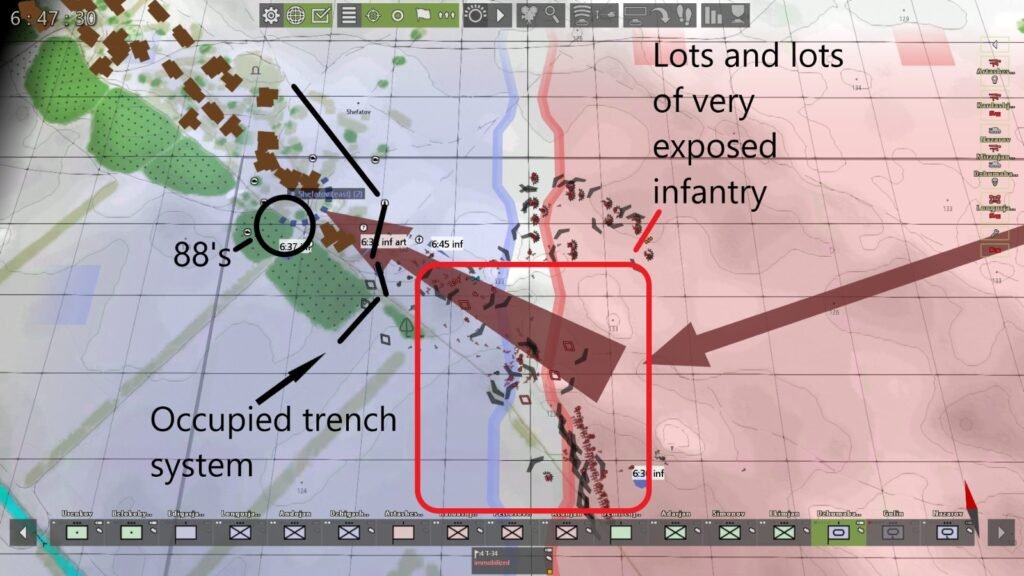
This objective is far more fortified than I expected and I have a single medium tank, three light tanks and a couple of 75mm guns. I’m not sure this is a fight I can win without at least taking pyrrhic losses. I elect to retreat from this tactical battle. My men will reform on the campaign map in a turn or so, and in the meantime I can probe Shefatov from the north, with my heavier tank platoons and several infantry companies of the 320RD. Another plus will be the next engagement should be in complete daylight, making for easier identification of the enemy and nicer AAR screenshots.
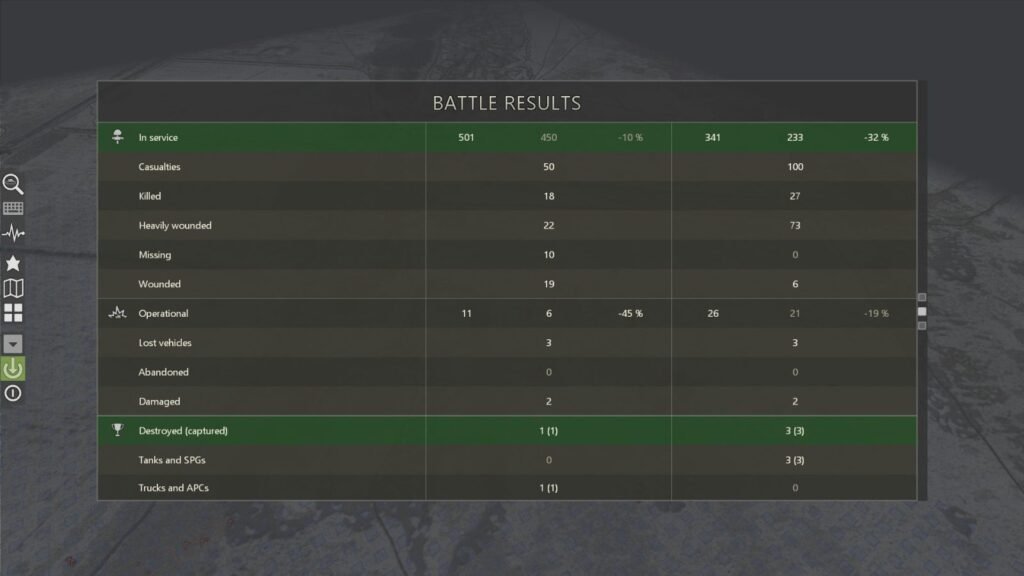
The end of battle results are slightly surprising. Despite my forces taking what I considered to be a whacking, the enemy has lost exactly twice the men I did. I was surprised to see I outnumbered him, but he did have far superior artillery and anti-tank weapons. I had thought my T-50 tanks might have been capable attackers after a quick look at their sloped armour, but the presence of 88mm Flak guns in the area nullifies that idea. Having done some reading about the T-50 on Wikipedia they were similarly ineffective at attacking during this battle in reality – the 44th Army, which deployed all 50 T-50’s ever made, lost every single one of them during this particular campaign.
I really should wrap this up, this AAR is getting very long. Thank you very much for reading. I hope to do an AAR for the next battle in this campaign sometime soon, but I’ve only managed to do this much in the last few days due to some excess free time I won’t have again for a little while.
Over to you
Would you have kept pushing into those 88s, or pulled back like he did?
Archive AAR, republished with permission. Played and written by u/nzmx121 and first posted on r/computerwargames on 16 February 2022 (original thread). Pivot Point is DLC for Graviteam Tactics: Mius-Front.

Max Chee considers himself an avid wargamer, which inspired him to create this site. He has a burning passion for history and advocates computer wargaming for the masses. He believes one can derive knowledge from learning and playing out history,